A Guide to Taking Screenshots for Art Commissions
I recently had a request for my old screenshot guide, so I thought I’d revisit it since the introduction of the group pose camera.
So you want to commission an artist to draw some rad art of your character, but maybe you’ve never really done it before? Or maybe you have, and you’d just like a refresher?
Well, here’s my guide to taking good screenshots to offer artists for commissioned works to make it a little easier on everyone! (This is gonna have a lot of FFXIV-specific tips in it, since this is my most commonly requested type of character to draw.)
Nothing is more frustrating than when someone commissions you, and offers you questionable reference pics. So we’re going to try to give some tips to help avoid that! Far away, or dimly lit pics of characters are much more difficult to work with than close-ups and well-lit shots. So with that said, let’s dive in and look at some examples of bad screenshots: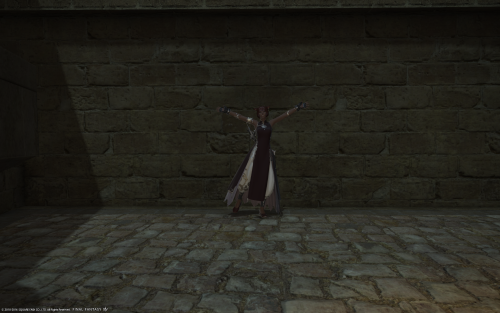
This pic is not a good reference. You can tell it’s a person, but that’s about it. It’s too dark, and the camera is zoomed out way too far to make anything out.
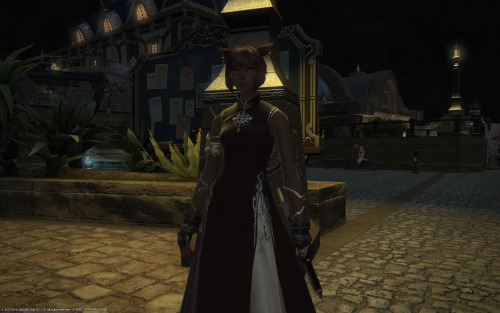
So now we’re zoomed in, which is better, but it’s still way too dark.
So that brings me to my first point:
Make sure your character is well-lit.
If you need to take pics, and it’s dark outside, either wait until it’s daytime, or better yet, head inside somewhere with decent lighting.
Alternatively, use /gpose and just turn the lights on!
/gpose is a relatively new feature implemented into FFXIV to make it easier to get screenshots! To use it, simply type in /gpose and it’ll pop you into a mode with the HUD hidden and loop your character into an animation of whatever their last emote was.
Once you’re on this screen, type “R” to bring up the little window and then click the little lamp icon on the top left!
Something to note with the lighting option is the closer you are to your character, the closer the light will be. So if you are far away and turn the light on, the light will be less severe. Experiment with it a little! When in doubt, take multiple pics. Most artists would rather have too many references than not enough.
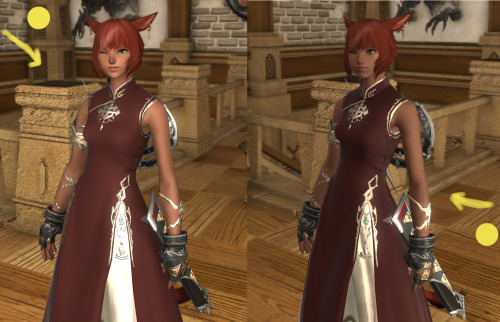
Make sure you are zoomed in for close-ups of the face.
The pic on the left has the light above and in front of her. The pic on the right has the light coming from below and behind her. Both of these are acceptable for references, though the first one is a little bit better in this particular case.
You’ll want to try to avoid harsh lighting on the face as much as possible, as that can distort the way the face appears. I’ll use my old post’s example pic:
While the above pic is not in dark lighting, the lighting available casts very harsh shadows across Shofie’s face, and as a result, sort of distorts how she looks. You want to avoid this.
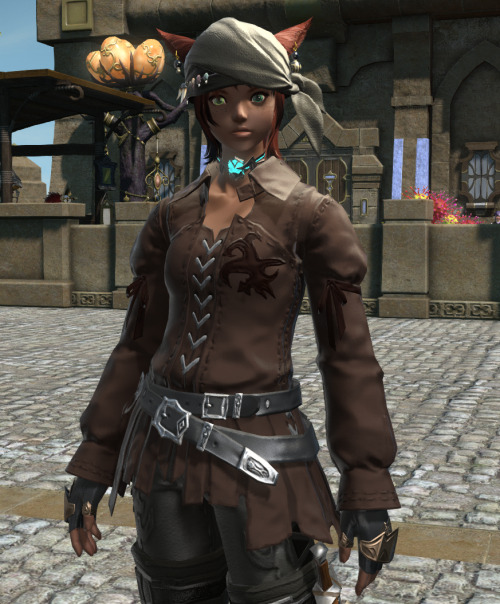
If you are going to commission a full-body piece, you’ll need full-body pics.
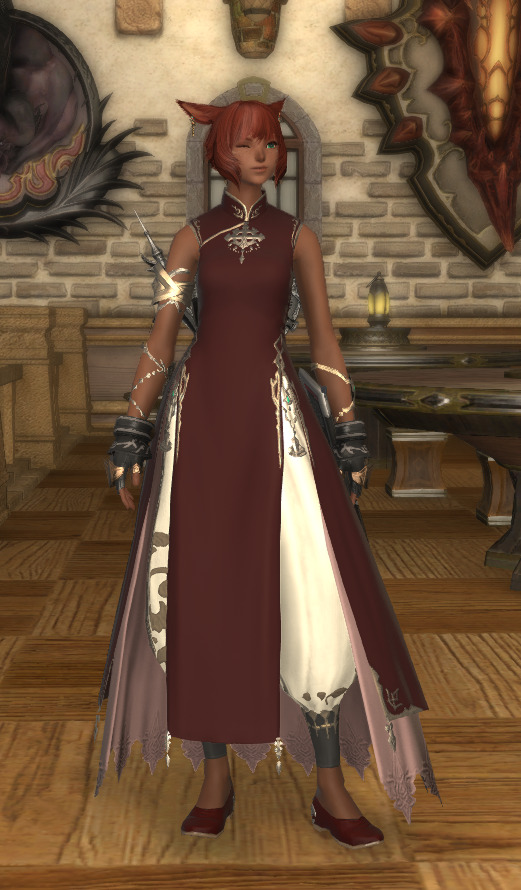
To make it concise, you’ll want to get as close as you can without zooming in so much you lose the feet or legs. Depending on what you’re asking your artist to do, you may need to provide front, side or back images of an outfit. It’s best to have references ready to go beforehand, so it’s less work for the artist.
Also keep in mind, many artists can and will pick and choose which commissions they wish to accept, and if a piece looks too difficult, or the references are too dark, or otherwise difficult to use, an artist may turn you down and move onto someone else’s project. You don’t want that! So try to go in armed with references.
A final point for those of us with tails
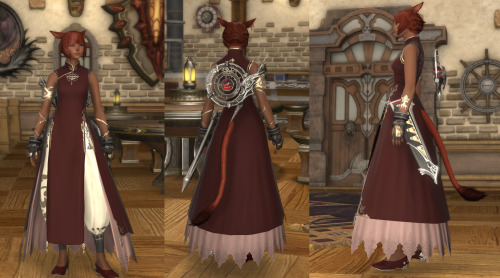
If you play a race that has a tail, please make sure to include a pic that shows clearly what your tail looks like. In my experience, a side shot works best for this, but straight-on from the back is usually fine as well. This isn’t relevant for people who are only getting busts, but if you’re getting anything else, I’d recommend tossing in a shot to show it, just in case.
After all this is said and done, I suggest heading over to imgur.com and making an account if you don’t already have one and dropping your references in there. You can even organize it into an album and let artists pick and choose through several photos at their leisure to find the ones which work best for them.
Again, experiment with the lighting! The better lit your character is, the easier it is for everyone involved. Don’t be discouraged if an artist comes back and asks for more pics, though, this is a highly individualized process and what works for one person may not work for another. Just do your best!