Willie Eggbert
Milkbread
- Created
- 4 years, 1 month ago
- Creator
- http://deviantart.com/GanacheToe
- Favorites
- 2
Profile
Willie Eggbert
...
 x
xWiki Framework for TH
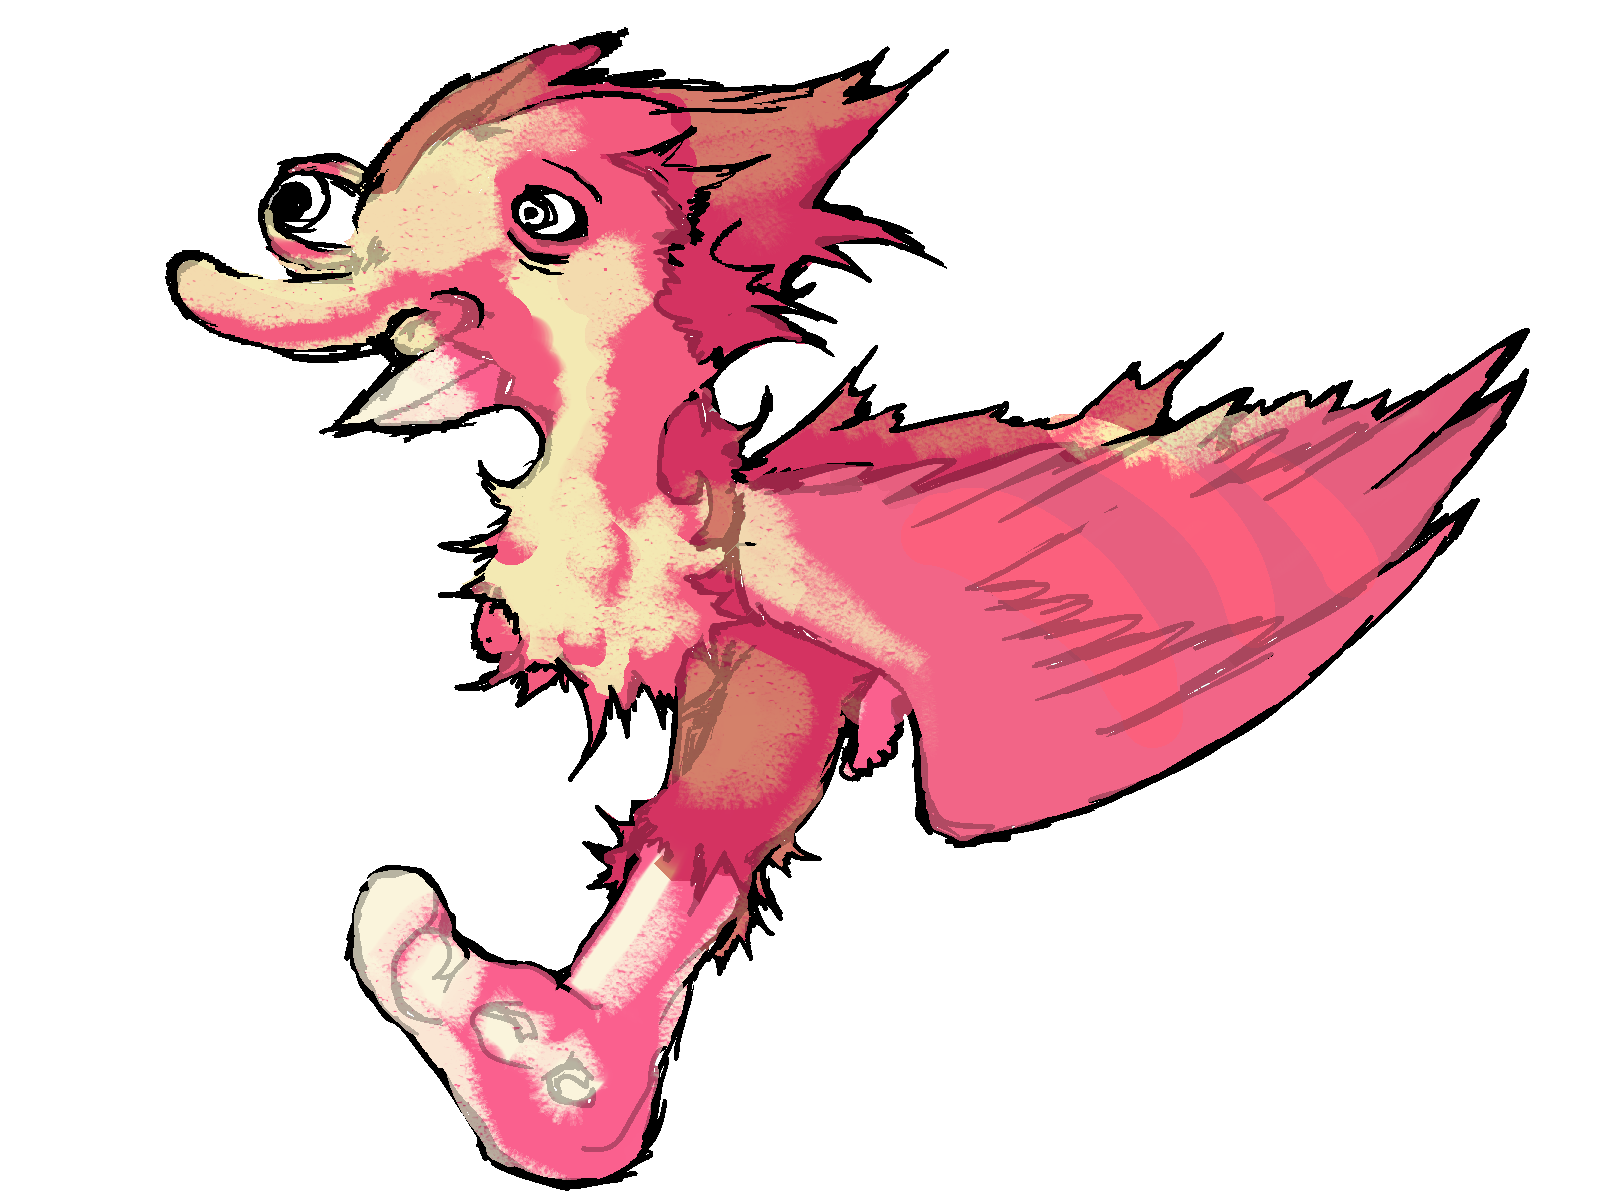 art by flareythecat
Info
| Item #: | // |
| Object Class: | Euclid |
| x | x |
| x | x |
| x | x |
| Date of Containment: | xx/xx 201X |
x
- x
x
- x
He is a little man who runs around very fast and sniffs your toes...
Contents
SCP-XXX
xxx
Description
xxx
x
Special Containment Procedures
xxx
x
Classes and Elements
This framework uses a number of CSS classes and HTML elements to keep the layout and styling of the pages unified. You can skip the list of classes, I mostly added it for reference if someone wants to modify them.
Headings
There are three levels of defined headings. Those three are styled, and generally you shouldn't need anything beyond these levels. Anything less important than third level should just be bolded, normal text.
<h1> - This level is used for the title of the page. Don't use it for anything else.<h2> - Used for section titles. They are identical to the page title, except a bit smaller. These headings should be added to the table of contents.<h3> - The lowest level, this should be used to divide the content of a section with subheadings. These headings should also be added to the table of contents, but as subitems.Text
Adding regular text is easy. Just copy or write to your heart's content. All you need to keep in mind is to wrap every paragraph in a
<p>, or the spacing will break. Also, all text should stay within the <div class="wiki-content"> container. This also applies to all headings except the page title, which has its own div.Links
Links work as you'd expect them to work. Just add the
<a> anchor as you would normally. They are styled to show up in a dark blue colour. Keep in mind that linking within a profile page doesn't work, but linking between tabs does.You can add disabled links for pages that don't yet exist. Just add the
wiki-disabled class to the anchor. Ditch the "href" attribute if you do this. Example of such a link.Images
 You can add images (almost) everywhere!
Here's where things get a little complicated. Wikipedia has those images to the right of the text, with captions and whatnot. The text wraps around them. To achieve this, I wrapped the image and its caption in a div and used "float" for that div. That's not such interesting information, though. What's important is that the code you have to add for an image is the following:
<div class="wiki-img">
 <img src="put the image link here">
 <span>Put the caption here. Links also work.</span>
</div>
There's some important things about placing this code. It should always be placed after headings, but before text. It also doesn't get along with Alert Boxes (which I talk about later on), and always has to be placed after them.
Also, it is possible to place an image on the left instead of on the right. Add
left as an additional class to the wiki-img container. This is an experimental feature and it might behave strangely in some situations!Tables
New! Tables received some styling as well. Create a regular table with the class
wiki-table. Use the <th> tags to give the cell a background and bold writing.Heading 1Heading 2Heading 3Content 1Content 2Content 3List of Classes
I'll briefly discuss the classes I'm using in this framework, for the interested. They are in no particular order. Feel free to modify them.
wiki-container - The foundation of the whole thing. It sets the background and text colour of everything it contains. It also styles the headings and links.wiki-img - Takes care of the boxes that contain the images. It also sets the height and width of the image inside it.wiki-content - Does surprisingly little; it only sets the text inside it to justified.wiki-columns - Also does almost nothing. It's used for text that is broken up into columns, but since that isn't whitelisted on TH yet, it only adds line-breaks to
<span> elements inside the div it was assigned to.wiki-toc - The class that the table of contents uses. Creates the box and defines its own heading.wiki-info - The name is misleading, it is actually used by the alert boxes. Styles the box and the icon inside it.wiki-credit - This is the little box with the credits. You can change the colour (as long as it stays legible), but don't remove it.wiki-subtitle - The text under the page title.wiki-box - Adds styling to the info boxes at the beginning of a page.wiki-table - Minimal styling for regular tables.Building a Basic Page
Equipped with all this knowledge, you are now able to build pages! …hopefully.
Page Template
To start off, you'll need the basic HTML that every page will be based on. It looks like this:
<div class="wiki-container clearfix">
 <div class="wiki-title">
 <h1>Page Title</h1>
 </div>
 <div class="wiki-content">
 </div>
</div>
<div class="wiki-credit">Wiki Framework for toyhouse - CSS/HTML by @artyrambles</div>
Yeah, you're seeing that right. That's literally it.
Content
All you need to do now is to add the elements discussed in the previous section. Most of them simply go into the
<div class="wiki-content"> container. So basically, all content you add must be inside the <div class="wiki-container"> container! Exceptions: The <div class="wiki-subtitle"> container which contains the page's subtitle goes inside <div class="wiki-title"> container, right below the title. A <div class="wiki-img"> or <div class="wiki-box"> container can be put right before the <div class="wiki-content"> container.Special Elements
The framework also offers some additional styled elements.
Alert Boxes
These are boxes that can contain all kinds of notes. You can add any icon you want by replacing the source of the img element. It will automatically resize to 32px wide. You can basically put them anywhere in the code.
Simply add an alert box with a single line of code:
<div class="wiki-info clearfix"><img src="link to the icon">The text of your box goes here.</div>You can vary the colour of the border by adding an extra class to the container. Use either one of the available classes (blue, yellow, red) or define your own in the CSS.
Important: Never add this element right below an image in the code. Put the image below the box instead.
Info Boxes
As demonstrated at the top of this page, you can choose to add a box containing various info about it to a page. This is entirely optional; you don't have to add this info box. Instead, you could also just add an image or nothing at all. To create an info box, simply add
<div class="wiki-box"></div> between the title div and content div.Wikipedia seems to have multiple info box styles, but for the sake of simplicity I only added the one I like best. If there is a demand, I can look into adding more styles. For now, the info box supports a single style and four types of special content:
Headings - using
<h2>Images (with captions) - using <img> (and <span>)Tables - using <table>Lists - ordered and unordered using <ol> and <ul>You can mix and match this content however you please. Simple text may also be added. Just put elements inside the container - none of them require you to add classes to them!
Table of Contents
You can easily add a list of the contents of a page. And by easily I mean really easily. It seems like linking within pages works (again?), so you can also add anchors like normal.
To create a table of contents, add the following code after your page's summary:
<div class="wiki-toc">
 <h2>Contents</h2>
 <ol>
 <li>Heading</li>
 <li>Heading</li>
 <li>Heading
 <ul>
 <li>Subheading</li>
 <li>Subheading</li>
 </ul>
 </li>
 <li>Heading</li>
 </ol>
</div>
You'll have to edit it with your own headings, of course. The headings are numbered, while the subheadings are just rendered as bullet points. It's just basic HTML list items.
To add an anchor, follow these two steps:
Add an anchor to your actual heading. It looks like this for example:
<h2><a name="heading1">Heading 1</a></h2>Add the link to the table of contents like this: <li><a href="#heading1">Heading 1</a></li>Columns
This class causes the text inside the
<div class="wiki-columns"> element to be split up into evenly spaced columns. Only put column elements inside the <div class="wiki-content"> container. Wikipedia uses a similar style for linking pages and subcategories on category pages. Example: Example Page
Example Page
Example Page
Example Page
The lines can be links if you add anchors to them.
Spoilers
I didn't actually change anything about these, but I thought I'd give them a honorary mention because people don't seem to know how to add them manually. Just wrap whatever content you want to hide inside a
<div class="fr-spoiler"> container. It will look like this:Some hidden text.
Afterword
And that's it! If you still have any questions or if something doesn't work for whatever reason, or if you have any suggestions for additional features, feel free to contact me. If you check the source code of this layout, you can see that I needed about 200 lines of code (including blank lines for spacing) for this page, of which most is basic HTML. I don't know what else to say, so yeah, have fun with this layout and let me see what you do with it!
Cheers!
Wiki Framework for toyhouse - CSS/HTML by @artyrambles


Comments